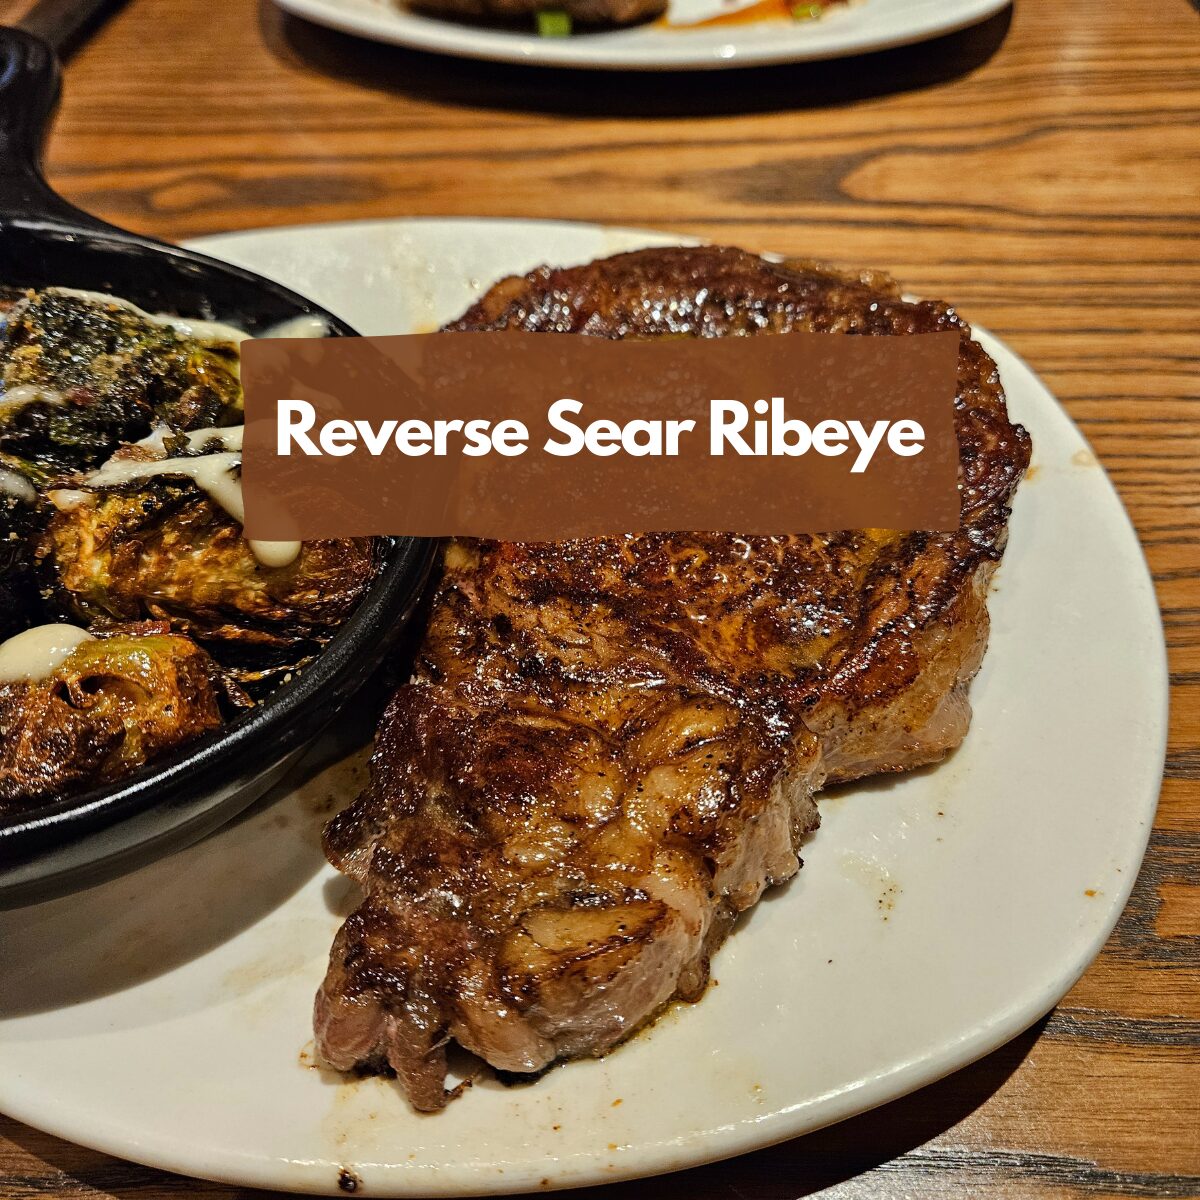
If you’re aiming for a perfectly cooked steak, the Reverse Sear Ribeye method is a game-changer. This technique ensures that your steak is evenly cooked, tender, and juicy, with a rich, golden-brown crust on the outside.
By slowly cooking the ribeye in the oven first and then finishing it with a hot sear, you can control the doneness with precision and avoid overcooking.
Whether you prefer your steak rare or well-done, this method guarantees a delicious outcome every time. Keep reading to discover how easy it is to master the Reverse Sear Ribeye at home.
What is Reverse Sear?
The reverse sear method is a game-changer for cooking steak, especially when it comes to ribeye steak. It starts by cooking the steak at a low temperature in the oven before finishing with a hot, quick sear on the stovetop or grill. This technique allows the meat to cook evenly and gently, ensuring a perfectly tender interior without overcooking the outside.
First, the ribeye cooks slowly in the oven, allowing the meat to warm up evenly. This gentle cooking process ensures that your steak reaches your preferred doneness with no surprises. Once the inside is perfectly cooked, it’s time to sear the outside in a hot skillet or on the grill. This creates that beautiful, crispy crust you crave.
The reverse sear method is all about flipping the traditional steak-cooking approach. Instead of searing first and then cooking through, you cook first, then sear to finish, resulting in a steak that’s evenly cooked, juicy, and full of flavor. It’s the ultimate technique for achieving steakhouse-quality ribeye at home.
Related Article: If you’re interested in trying the reverse sear technique on other cuts, check out our recipes for Reverse Sear New York Strip and Reverse Sear Filet Mignon.
Choosing the Perfect Ribeye for Reverse Sear

The secret to a mouthwatering reverse sear ribeye starts with picking the right cut. When you’re at the butcher, look for ribeye steaks with plenty of marbling—those thin streaks of fat running through the meat.
Prime cuts are the top-tier option, offering the best flavor and tenderness, thanks to that extra marbling. However, choice cuts are also a great pick, balancing quality with affordability.
For reverse searing, thickness is key. Go for a thick-cut ribeye, at least 2 inches thick. This thickness ensures that your steak cooks evenly in the oven and doesn’t dry out when you finish it with a sear. Thin cuts can’t handle the low-and-slow process as well, so stick with a thicker steak for the best results.
Pre-sear Prep: How to Ready Your Ribeye
Before you can achieve that perfect reverse sear ribeye, some essential prep work is needed to ensure your steak comes out tender, juicy, and packed with flavor. Here’s a simple guide to getting your ribeye ready for the heat.
Dry Brining for Maximum Flavor
Dry brining is a game-changer. By sprinkling kosher salt over your ribeye and letting it rest, you allow the salt to draw out moisture, which then reabsorbs back into the meat. This gives you a steak that’s seasoned through and through.
For best results, salt both sides and let the steak rest for at least 40 minutes, or leave it overnight in the fridge for even deeper flavor.
Bring Your Steak to Room Temperature
Let your ribeye sit at room temperature for 30 to 60 minutes before cooking. This ensures even cooking throughout, avoiding cold spots that can lead to uneven doneness. A steak at room temperature will sear better and retain more juices.
Seasoning: The Final Touch
After dry brining, add a little more kosher salt, freshly ground black pepper, and your favorite steak seasoning if desired. The salt enhances the natural flavors, the pepper gives it a spicy kick, and your choice of seasoning adds a personal touch. Now, your ribeye is prepped and ready to be seared to perfection!

Reverse Sear Ribeye in Action: Step-By-Step Process
Cooking a perfect reverse sear ribeye might seem like a restaurant-level feat, but with this step-by-step guide, you’ll master it at home. Follow these easy steps to get that juicy, evenly cooked ribeye with a mouthwatering crust.

Step 1: Prepare the Ribeye
Start with a thick-cut ribeye (at least 2 inches). Pat it dry with paper towels, then generously season both sides with kosher salt. This dry brine helps enhance the flavor and draw out moisture, making the steak tender and delicious. Let it rest at room temperature for about 30 minutes.
Step 2: Preheat Your Oven
Set your oven to 200°F (93°C). This low temperature allows the ribeye to cook evenly throughout. Preheating your oven ensures your steak cooks gently, avoiding overcooking the edges while keeping the center just right.
Step 3: Bake the Ribeye
Place the ribeye on a wire rack set over a baking sheet to allow air to circulate and ensure even cooking. Put the steak in the oven and cook until it reaches an internal temperature of around 100°F (38°C) for medium-rare. This should take 20-30 minutes, depending on the thickness of the steak.
Step 4: Heat the Skillet
While the steak is in the oven, heat a cast-iron skillet over high heat. Add a high-smoke point oil like canola or avocado oil, and let it heat until it just begins to smoke. A hot skillet is key to achieving that perfect sear.
Step 5: Sear the Steak
Remove the steak from the oven when it reaches the desired internal temperature. Place it in the hot skillet and sear for about 1-2 minutes per side until a golden-brown crust forms. Flip the steak only once for an even sear.
Step 6: Baste with Butter and Herbs

In the last minute of searing, add a tablespoon of butter, a few sprigs of fresh herbs (like rosemary or thyme), and a crushed garlic clove. Tilt the pan and spoon the melted butter over the steak to enhance the flavor and create a rich, flavorful crust.
Step 7: Serve Immediately
Unlike traditional methods, the reverse sear steak doesn’t need resting. The slow oven cooking ensures the juices stay locked inside. Slice and serve your perfectly cooked ribeye right away, with a beautiful sear and a tender, juicy interior.
Temperature Mastery: Avoiding Over or Undercooking
Getting the perfect doneness on your ribeye isn’t a guessing game—it’s all about precision. A reliable meat thermometer is your best tool for making sure you don’t end up with a steak that’s overcooked or too rare. Think of it as your guide to achieving steak perfection every time.

To keep things clear and simple, here’s a guide on oven and ribeye internal temperatures to help you master the art of cooking ribeye:
| Doneness Level | Oven Temp (°F) | Internal Temp (°F Pre-sear) | Internal Temp (°F Post-sear) |
|---|---|---|---|
| Rare | 200 | 110 | 120-125 |
| Medium Rare | 200 | 115 | 130-135 |
| Medium | 200 | 120 | 140-145 |
| Medium Well | 200 | 125 | 150-155 |
| Well Done | 200 | 130 | 160-165 |
By using this simple guide, you’ll hit your preferred doneness every time, with no guesswork needed!
Conclusion
The reverse sear ribeye method offers a foolproof way to achieve a restaurant-quality steak in your own kitchen. By cooking the ribeye low and slow in the oven, then giving it a quick sear, you get the best of both worlds—a tender, juicy interior and a perfectly crisp exterior.
It’s a simple yet effective technique that delivers consistent results. With a meat thermometer and a few easy steps, you can avoid common pitfalls like overcooking or undercooking your steak. So, give the reverse sear method a try, and enjoy a perfectly cooked ribeye every time. Happy cooking!
PrintReverse Sear Ribeye: The Ultimate Method for a Perfect Steak

A perfectly cooked ribeye steak using the reverse sear method ensures tender, juicy meat with a beautiful crust. Follow these simple steps for a steakhouse-quality meal at home.
Ingredients
- 1 ribeye steak (2 inches thick)
- 1 tablespoon olive oil
- 2 teaspoons kosher salt
- 1 teaspoon freshly ground black pepper
- 2 tablespoons butter
- 2 cloves garlic, crushed
- 2 sprigs fresh thyme
Instructions
- Step 1 – Preheat your oven to 200°F. Pat the ribeye dry and season generously with salt and pepper on all sides.
- Step 2 – Place the steak on a wire rack over a baking sheet and cook in the oven until the internal temperature reaches 115°F for medium-rare.
- Step 3 – Preheat a cast-iron skillet over high heat. Add olive oil.
- Step 4 – Sear the ribeye for 1-2 minutes on each side until a golden-brown crust forms.
- Step 5 – Add butter, garlic, and thyme to the pan. Spoon the melted butter over the steak for an additional minute.
- Step 6 – Remove the steak from the skillet and let it rest for 5 minutes before serving. Enjoy!
FAQ
Can I use the reverse sear method with marinated ribeye steaks?
Yes, but ensure the ribeye marinade doesn’t burn during the sear. Pat the steak dry before searing to get the best crust without excess liquid from the marinade.
Why is reverse sear better than traditional searing?
Reverse sear offers more control over the internal temperature of the steak, preventing overcooking while achieving a crisp, flavorful crust at the end.
Can I use the reverse sear method for other cuts of steak?
Yes! While ribeye is ideal, you can use the reverse sear method on other thick cuts like filet mignon, New York strip, and even porterhouse.
What type of pan should I use for the final sear?
A cast iron skillet works best for the final sear because it retains high heat and creates a nice crust on the ribeye.
Is reverse sear suitable for grilling?
Absolutely. You can use the reverse sear method on a grill by cooking the ribeye over indirect heat first and finishing with a high-heat sear directly over the flames.
How long does it take to reverse sear a ribeye?
The cooking time depends on the thickness of the steak and your preferred doneness. Typically, it takes 45 minutes to 1 hour in the oven, followed by a quick 1-2 minute sear on each side.
What sides pair well with reverse sear ribeye?
Popular sides include garlic mashed potatoes, roasted vegetables, and grilled asparagus. A fresh chimichurri sauce or red wine reduction also complements the rich flavor of ribeye.